Photo & Logo Preparation
Professional guidance on image formats, sizing, and photography best practices for stunning websites
Why Use a Professional Photographer
Poor quality photos can completely undermine even the most beautifully designed website. Investing in a professional photographer is one of the smartest decisions you can make for your online presence.
Professional photographers bring the right equipment, expertise in set design, understanding of resolution and sizing, mastery of lighting techniques, and knowledge of composition. They'll also handle all necessary editing to ensure your images are web-ready and visually compelling.
If you have any questions or concerns, we're always happy to discuss image requirements directly with your chosen photographer to ensure the best possible results.
Why Photo Size Matters
Modern cameras produce enormous image files—both in dimensions (pixels) and file size (megabytes). While these high-resolution files are perfect for print, they're far too large for web use.
Uploading oversized photos directly to your website will dramatically slow down page loading speeds. This is problematic for two critical reasons:
- User Experience: Slow loading pages are one of the fastest ways to lose visitors. Most users will abandon a site that takes more than 3 seconds to load.
- Search Engine Rankings: Page speed is a confirmed ranking factor. Search engines penalize slow-loading websites, pushing them down in search results.
Good News: We always ensure all your images are fully optimized for web use before final publication, balancing quality with performance.
Photo & Logo Formats
Popular Image Formats for Web Use
Joint Photographic Experts Group
Best for: Photographs and complex images with many colours
Scalable Vector Graphics
Best for: Logos, icons, and illustrations that need to scale perfectly
Portable Network Graphics
Best for: Logos and illustrations with transparency. Avoid using for photographs.
Graphics Interchange Format
Best for: Simple animations and small animated graphics
Best Practices
Product Photos: Shoot products on plain backgrounds, preferably white. We can remove backgrounds and replace them with subtle gradients if desired, helping your products stand out beautifully.
Logos - SVG Format: SVG is the gold standard for logos because it's infinitely scalable without quality loss. Create logos with transparent backgrounds to reduce file size. They must be properly exported from professional graphics software—avoid online SVG converters as they don't produce optimal results.
Logos - PNG Alternative: If SVG isn't available, PNG format with transparent backgrounds is the next best option.
SVG vs. PNG - Visual Comparison
Understanding the difference between SVG and PNG becomes critical when users zoom or pan on touch-screen devices like smartphones and tablets.
The Problem with PNG: When PNG images are made too small and then zoomed, they become pixelated and blurry—especially noticeable on high-resolution displays.
The SVG Advantage: SVG images scale up perfectly with zero pixelation, maintaining crisp edges at any size.
PNG Format Demonstration
PNG: Original Size (250 pixels)
This is the original size the graphic was created at.
No pixelation visible.

PNG: Stretched to 700 pixels
Pixelation occurs, rendering the image blurry and unprofessional.
If viewing on a phone, pinch to zoom and see the quality degradation.
SVG Format Demonstration
SVG: Original Size (250 pixels)
This is the original size the graphic was created at.
No pixelation visible.

SVG: Stretched to 700 pixels
Perfect clarity maintained! No pixelation at any size.
If viewing on a phone, pinch to zoom and see the crisp, sharp edges.
DIY Photography Tips
For Budget-Conscious Projects
If hiring a professional photographer isn't within your current budget, these tips will help you capture the best possible photos yourself.
Key Principle: Preparation is Everything!
A quality camera with the appropriate lens will always produce superior results compared to smartphone cameras.
Essential Photography Techniques
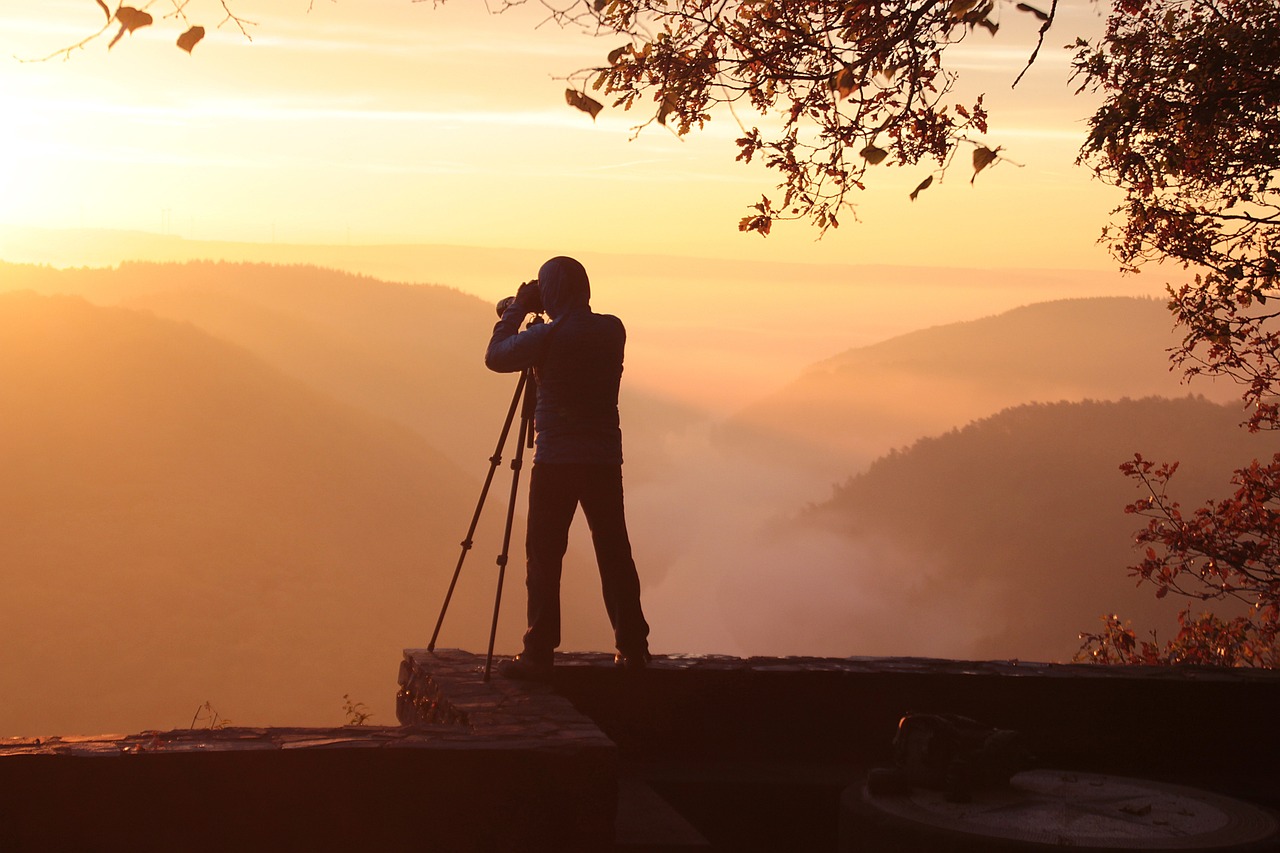
- Perfect Focus: Use a tripod whenever possible to eliminate camera shake. Enable your camera's timer function to avoid movement when pressing the shutter.
- Optimal Lighting: Outdoor photos generally look best during "golden hour"—one hour after sunrise or one hour before sunset. Avoid harsh midday sun and bright sunlight streaming through windows into dark rooms, which creates unflattering contrast.
- Video Panning Speed: When filming static objects like product lines, maintain a steady, moderate pan speed—not too fast to disorient viewers, not too slow to bore them.
- Foreground Preparation: Position your main subject centrally in the frame. Inspect products carefully for damage, scratches, or packaging defects before shooting.
- Background Management: Remove clutter and distracting elements. A clean, simple background keeps focus on your subject.
- Scene Cleanliness: Scan the entire frame for unwanted items—litter, cables, packaging materials—and remove them before shooting.
- Shadow Awareness: Ensure your own shadow doesn't appear in the shot. Adjust your position or lighting as needed.
- Reflection Control: Check for unwanted reflections or camera flash in windows, mirrors, screens, and glossy surfaces. Reposition to eliminate them.
- ALWAYS Review Before Leaving: Check every photo immediately after shooting. Look for closed eyes, unflattering expressions, people blocking others, focus issues, or any problems. Reshoot if necessary—it's much cheaper than a return trip or using subpar images.

